Wednesday, 30 November 2016

Own images for charity website

When creating my charity website, I had to take my own images to go on the different pages. On the 'About us' page I changed the template images to pictures of my teachers. I thought this would make my website look professional as they are wearing smart clothes and presentable. I chose to take pictures in front of a white background, so there is only focus on the images rather than behind them.
I took more than one image of each model, so I was able to decide which ones looked best on my website, I decided that the close ups on the models looked best as the camera focused on their face and nothing else. 


I took my own images for a different part of my charity website, I thought have a image of a sky view which is dark and dismal would fit with my charity as it is a sad cause and it fits with my colour scheme. The images could go on the website or appear on my trailer or another product to go with my charity.


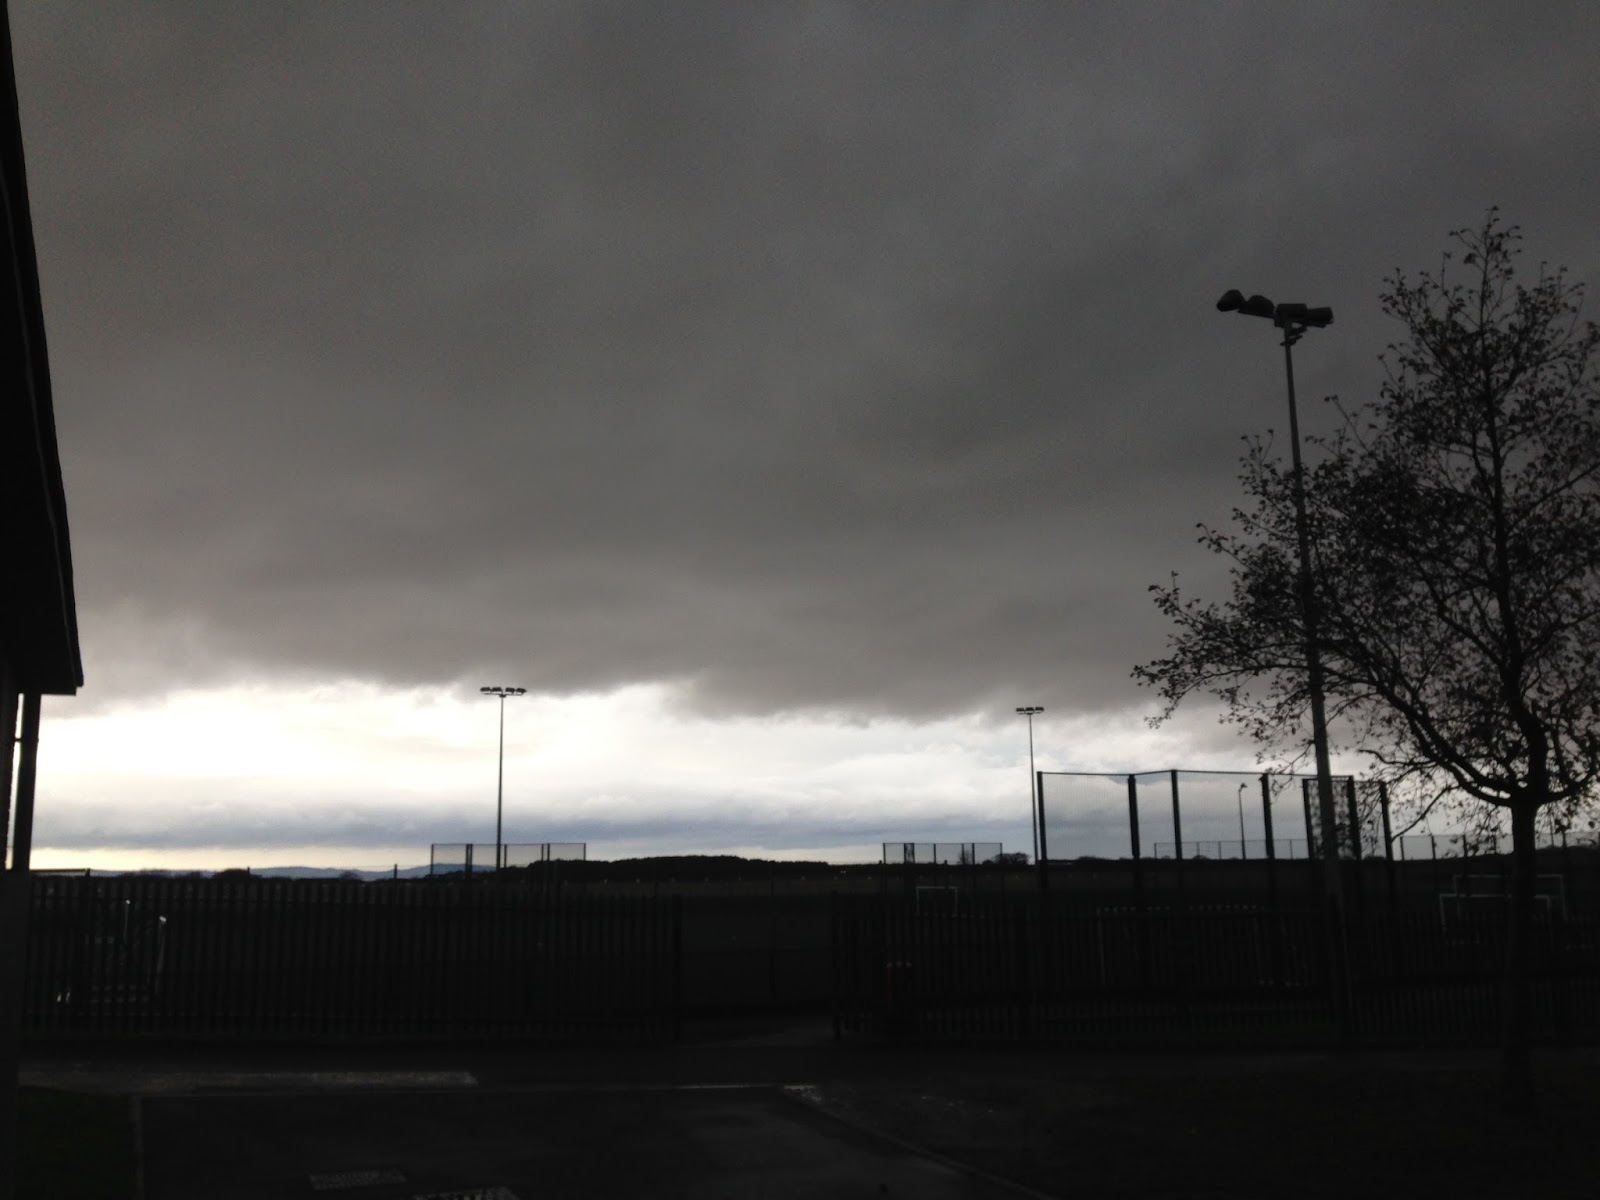


I feel like the lighting of these pictures is too dark, so I decided that I wouldn't film my trailer with this dark of lighting, the quality wont be as good however alternatively I could improvise if the weather is bad when I'm filming my charity trailer as homeless people are on the streets in all weather.

I took my own images for my photo shoot plan, I took pictures of both my brother and sister who are both appearing in my charity trailer. I needed to take these images so the I would be able to follow my plan simply with the right actors.
This is the homeless boy actor, I took original images of him, so I an fill out my photo shoot plan.


Each shot of charity trailer explained

For creating my final product, I have made a word document which describes all the shots I am going to do for my charity trailer. I felt like this was important to do so I knew exactly what I was doing for when I record the trailer as well as the examiner knows what my aims are,


This explains each shot I am going to do and why.

Target audience for my charity

In making my final products, I needed to focus on who my target audience is for my website, my trailer as well as my charity as a whole. I created a word document, which explains to the examiner who my target audience is.


This explains the social grades, the class and the occupation of my target audience, I also described further into my audience by mentioning that my audience is reformers, those who want to help and change what they believe is right, I believe these will be good for my charity. 

Evaluating each page (Contact page)

When creating my website, I had to change the template of the contact page to fit with my charity. I added a location which shows where the Cooperation is held, mine is Birmingham however their are charity homes all across the UK. Changing the location was easy, the template was based in America so I simply deleted the text and changed it to 'Birmingham UK' as my charity is based in the United Kingdom.
All I changed on my website is the location and the telephone number as I was happy with the layout as well as the details for the audience, 
This shows me changing the telephone number of my website, I did this to fit with the number I put on my front cover. 

Tuesday, 29 November 2016

Holding an audition for my charity trailer

When making my trailer, I will need to cast auditions for the actors who will be presenting my charity. This is important for research for my trailer, it shows the examiner that I have considered more options to make my trailer look professional and real. I am aiming to cast my two siblings as the actors in my trailer because they are a reliable source and are trusting in taking the process seriously. I have researched into sites which show how to hold a audition as well as YouTube links which show ways of holding an audition. This audition is also to chose people to be in my photo shoot, which fits in with my charity theme.
I felt like this video was very useful towards holding an audition to cast people for my trailer as well as my photo shoot.

Charity trailer research

When making my final product (G321) I had to research into different charity trailers, to help me with my own. Most trailers I watched had 16+ shots; which helped me with creating and designing my own shots.

I researched into different charity trailers on YouTube so it would help me with making my own final product.

This YouTube clip shows my research of charity trailers, this will help me with making my own charity advert because it shows how many shots, the different types, how long a usual trailer lasts etc...


I looked at different genres of charity trailers for extra research, not just homeless people ones


I felt like researching charity websites helped me further into the process of my own charity trailer, it gave me good knowledge on what mine should be like.

Shot types and 180 degree rule for charity trailer

When making the G321 Main task, I had to research into different charity trailers, in order to make and edit mine. This was good research for my final product because I was able to see how many shots were needed in my trailer, what the different shot types are as well as learning the 180 degree rule.

I researched into the 180 degree rule, after watching a YouTube clip, I researched into the definition of the rule so I could use it in my own trailer.


180 Degree rule - This is another site, which shows a presentation of the 180 degree rule and how it works. 

180 Degree rule - This is a YouTube clip which shows what the 180 degree rule is, in terms of media and how it works/should be used.

I will use this research to help me with my own trailer as I will need to follow the 180 degree rule.


When making my storyboard and shot list, I had to know what shop types I was going to use in my trailer, I researched into the different types and this is what I found;

These are the main shot types, which are used in a lot of the media, for example, films, trailers, TV shows etc... These shots are used so the actual media product looks like reality and the audience will believe it is like real life. In my own media product, I will be using medium shots, long shots, two shot, close up and extreme close ups. I also researched into YouTube videos, which show and describe the shots and why/how they are used. 


Basic camera shots- This is a YouTube link to a video explaining and showing the different camera angles, I used this for my own research when making my shot list and storyboard.